The Project in Brief…
I have been very fortunate to have purchased a Bungalow with a large basement. In this home, there is a 10′ x 20′ wood shop that is fairly isolated from the rest of the home. We are also needing to gut all the walls and ceilings in the basement to allow for a rewire of the electrical (upgrading from Aluminum). The plan is to build a mixed use control room in the space used as a wood shop and wire two other rooms in the basement with multichannel XLR runs to allow for multi-room recording if needed. This is a year long process involving multiple stages and I am using this page to document the process so that anyone interested in completing a similar project can see what kind of work is involved.
Pre-Demolition
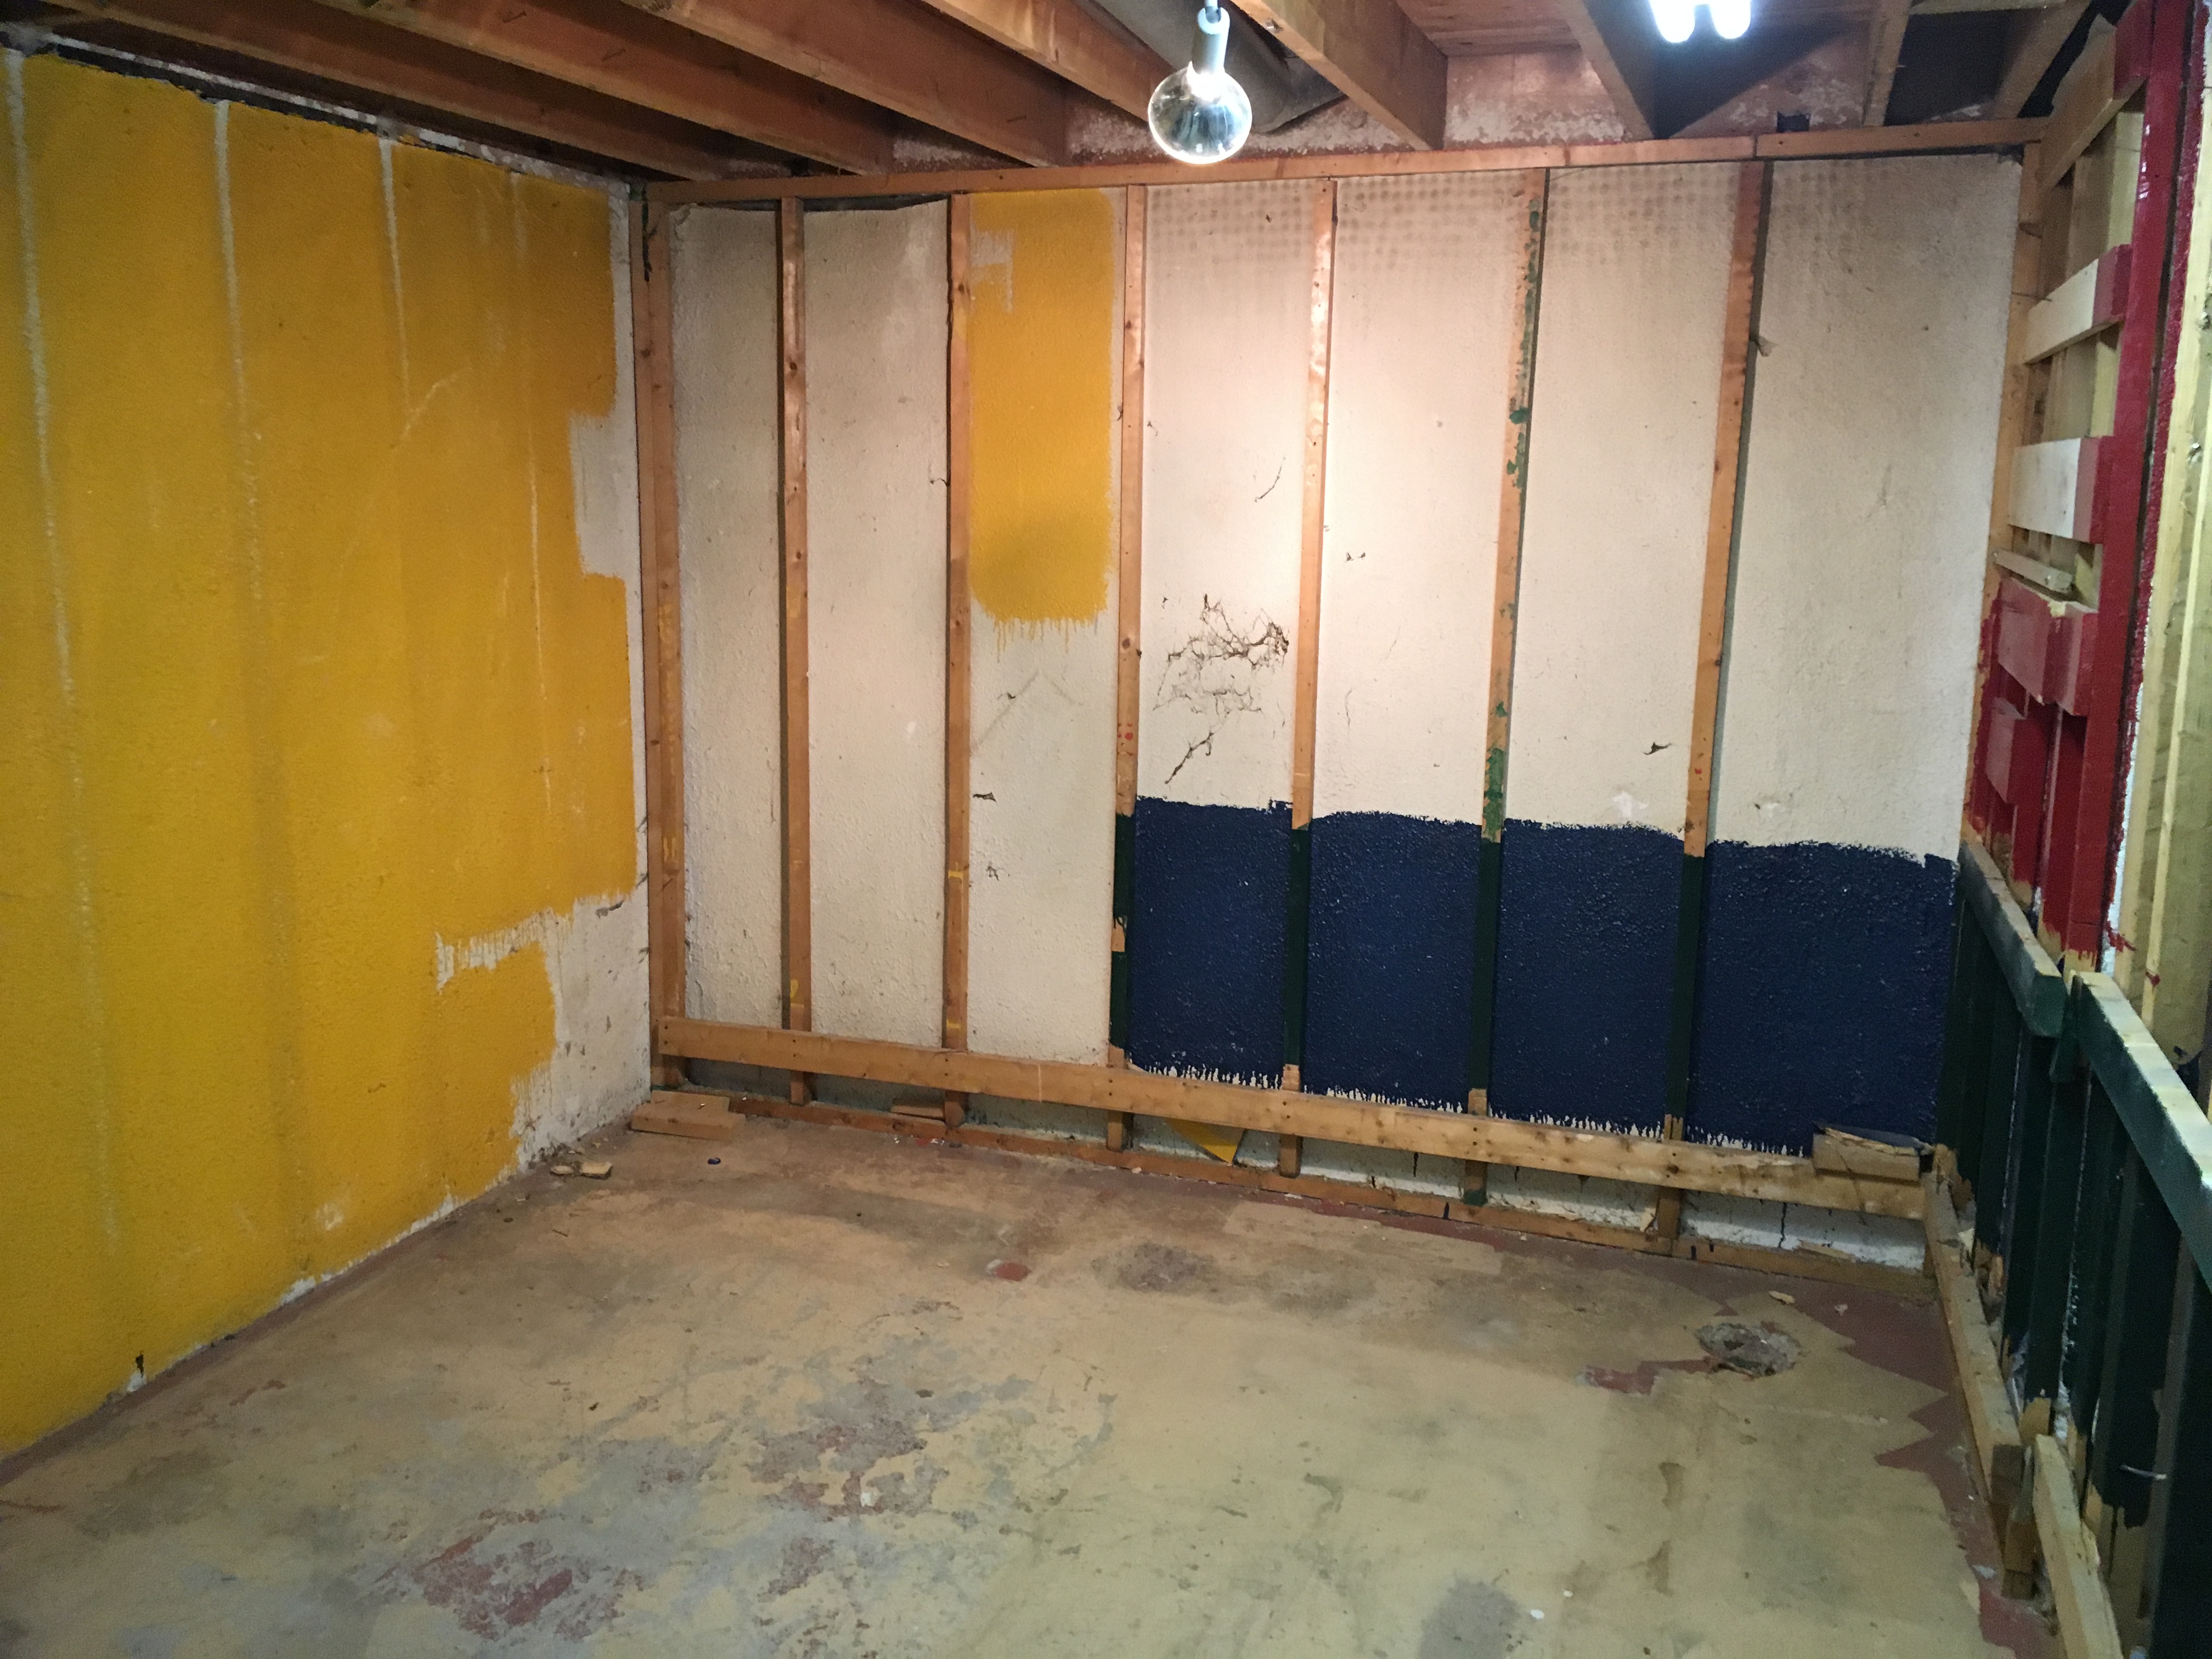
This is the space we’re working with:

The location within the home is ideal for a control room with two doors in between it and the utility area (HVAC, also in the basement). There are a few challenges that are being faced in terms of what is already in the space:
- Aluminum Wiring mixed with Copper incorrectly
- Two existing outlets that are poorly placed
- Two ugly lights, one controlled by a switch outside the room, another inside
- A drain pipe sticking out 6 inches from the wall (hiding in the shelves on the left)
- The central Vac system
The electrical issues will be take care of when the whole house is re-wired. This is not just a “nice to have” idea, most insurance companies will not insure a home with Aluminum wiring, and the one quote from a place that was willing was $8,500 per year when the average is $1,200. While placement of electrical outlets and lighting is usually not the biggest concern, because the outlets are actually installed on the workbench and are potentially dangerous, we have to take care with the demo.
The drain pipe can be re-routed to be closer to the wall, but that could be an unneeded expense if we’re going to build a shelf or something else that will cover it. And the Central Vac is a similar concern. We could leave it and build a housing around it, but if we’re not going to use it we might as well remove the whole thing.
Since there is no ceiling, installing the insulation and lighting will be easier down the line.
Demolition
Demoing the space was mostly straight forward with a few surprises. We took out all the ceilings and walls in the basement to facilitate the electrical upgrade and discovered numerous building code violations created by the previous occupants. It’s clear that they did not obtain permits or seek any professional support when finishing the basement. This includes:
- Numerous hidden junction boxes in the ceiling
- Aluminum coupled with copper with non-lubricated marrets
- Gang boxes not affixed to any structure
- Cables routed around joists and studs, instead of through them
- Loose live cables
- Incorrect studs (2×3 or 1×3 instead of 2×4)
- Incorrect framing (studs cut short of the length of the wall, no headers)
- Structural compromises (notched beams and joists)
This means extreme care needed to be performed when removing walls and anything that could be connected to structure. We also took caution and disconnected all the power to the home in case of any surprise cables (which we found a few). All this also means we now need to bring in a structural engineer to assess the whole basement before adding any new walls or changes – part of the plan for the studio.
Since the workbench and shelves were built ins and attached to the framing of the walls, the easiest method for removal was to use a reciprocating saw to cut the nails attaching all the wood. This made the removal somewhat quick, but still took some brute force and crowbars to remove. We had the help of family which was great and the whole removal took a few hours. After all is said and done, this is what we are left with:

The framing that is left will still need to be removed, and we noticed a small patch in the floor that is cratered, most likely a fixture that was removed and never patched, but the space is ample and it’s easy to see the potential for a studio to exist.
Planning
Planning the studio is important, but it’s also wise to have some flexibility, especially in the early stages. The dimensions have changed now, even though there is 10′ x 20′ of space total, the last 8 feet will be converted into storage, both for the studio and my home in general. That being said, a 10′ x 12′ studio is still more than adequate. Here’s the breakdown of what I want out the studio:
- Sound isolation via Mineral Wool and Resiliant Channel (RC Channel)
- A desk that holds my main display (ultra-wide)
- Monitor stands to hold new monitors
- A wall mounted TV for program reference
- A new audio interface
- Simple lighting
- Air exchange
- Acoustic Treatment via panels
- Bass traps built into the structure running the height of the wall
With that in mind here’s a breakdown of the associated costs:
[googleapps domain=”docs” dir=”spreadsheets/d/e/2PACX-1vRhDJNwPdIZI0N2Gbhg8c65cOB-NSUer2q2dE-qkrhbBwKmjcD7nDkkJ2bKRwYBAPuLmX6HEACZWmlc/pubhtml” query=”widget=true&headers=false” /]
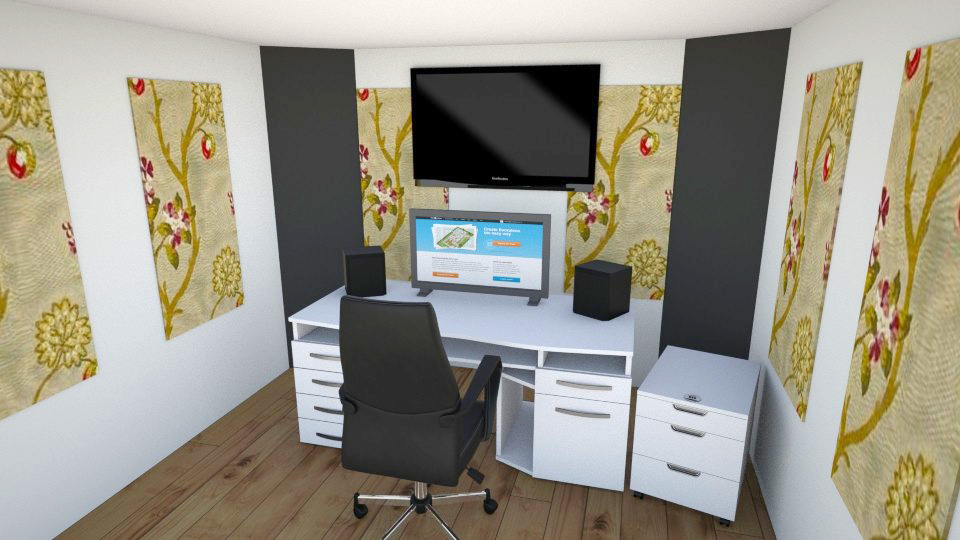
Close to $10,000 is a lot of money (even in Canadian currency) but a lot of the gear listed are items that aren’t needed right away. I could use my current interface, monitors and most gear for the time being and simply install new gear as time passes. The structural costs are also going to be incorportated into the rest of the basement renovation costs, but it’s good to see how much this studio will cost. Using the RoomStyler App, here is a simple rendering of the space as I envision:

The flower designs of the panels will be replaced with custom fabric prints of posters from films I worked on. Not pictured is an acoustic panel “cloud” suspended above my chair for better isolation and monitor stands.
Next stage: Construction!
More to come!
