There are as many microphone types as there are applications for them (read: many), so here’s a primer that will hopefully help you understand the options available and decide what’s best for your scenario. This primer is intended for voice applications.
Interface Options
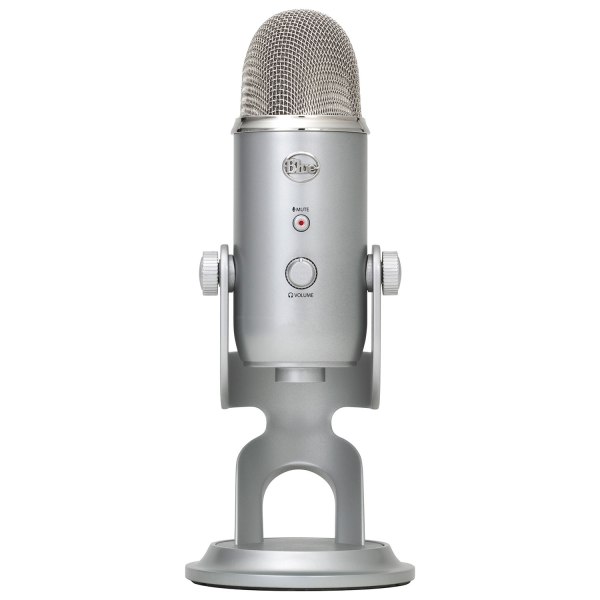
How you decide to connect your microphone to your computer depends on a few factors, but cost will be the biggest decider. I wrote about the different interfaces options briefly on my “Tips For Voice Audio” page if you want more details, but simply put USB mics are great for many scenarios and are simple to use, while traditional microphones with a separate interface will cost more and typically have better results.
Transduction Types
All microphones operate under the same principle by converting sound vibrations into electrical signals. How they convert the signal will impact a few aspects of your signal flow and how they behave.
Dynamic Microphones
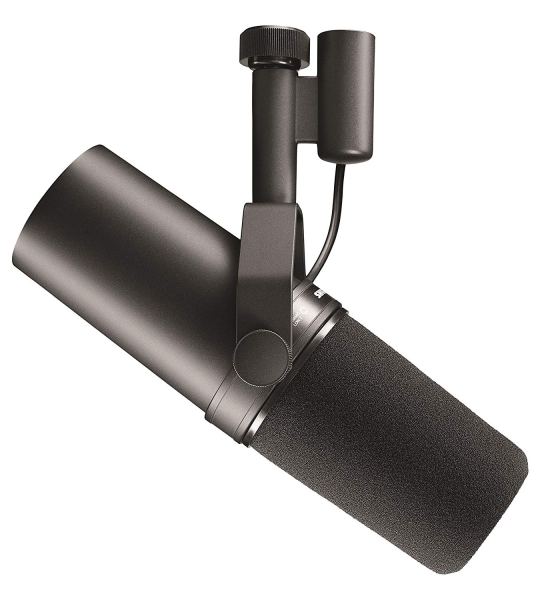
Dynamic mics use a combination of coils, magnets and membranes to convert audio vibrations into electrical signals similarly to how your ear works. These microphones are great for live production as they are very durable and can withstand very loud sources (like a drum kit). Generally speaking, these are not the greatest choice for most streaming scenarios as you need to be very close to the mic to get the best sound, usually within a few inches. There is one dynamic mic in particular that is the “industry standard” for voice broadcast and high end podcasts, and that is the Shure SM7B. It is designed for voices and sounds amazing, but is relatively expensive and needs to be very close to your mouth for best results. Handheld microphones like the Shure SM58, which is very common for live concerts, does not reproduce sound well for a dialogue scenario. Dynamic microphones can sometimes also be sensitive to electromagnetic signals like radio broadcasts, but most have shielding to prevent this. Finally, many dynamic mics require a lot of gain from the interface to operate properly. The 7B is commonly paired with a “cloudlifter” that boosts the signal to allow it to work with weaker interfaces and their pre-amps. This is another cost to consider.

Condenser Microphones
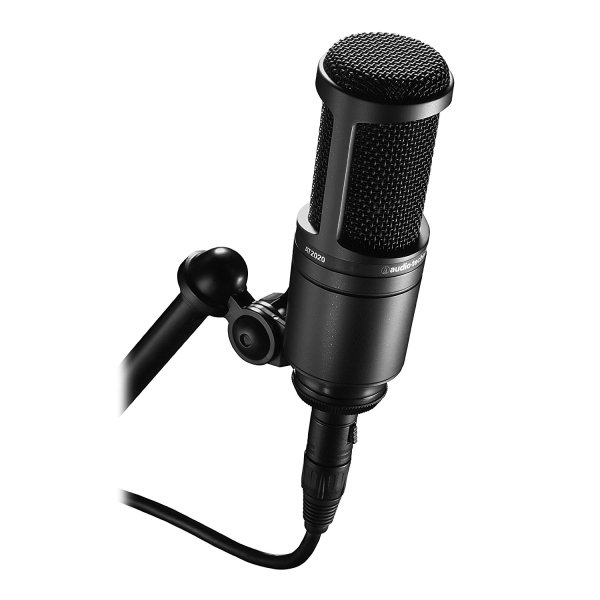
Condenser mics use two charged plates to create an electrical signal and therefore require external power. Some of these mics have an option to use a battery for power, but most of them will use 48V generated by the interface carried over the cable. This is also known as “Phantom Power” and is sometimes denoted on the interface as “48P” or just “P”. Since they require external power, you’ll need to make sure the interface you use has the ability to supply it. For instance, most internal sound cards do not have the option to supply power, so attempting to use adapters to connect a condenser won’t work. Condensers tend to be more sensitive meaning they can pick up great sound from a further distance. If having a microphone out of frame is important for you, this may be the best way to go. Condensers also tend to be less durable than dynamic mics, so if you intend to travel a lot, you’ll either want to avoid condensers or invest in a good case for transportation.
Ribbon Microphones
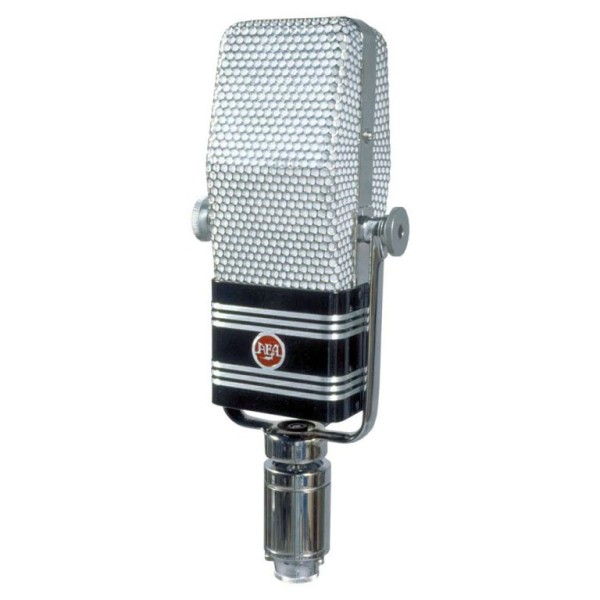
Ribbon mics contain some of the oldest technology with regards to sound reproduction. They can sound amazing, but are fairly delicate. For instance, some older ribbon mic run on a different type of power (12V or “T” power). If a mic using 12V is fed phantom power, it could become damaged. Due to their costs and challenges associated with them, I don’t recommend purchasing one for stream or podcasting, but if musical performance is something you are interested in, it may be worth investigating.
Pressure Zone Microphones
PZM’s are also known as contact microphones and operate by attaching the mic to a surface. While they can be leveraged for some really interesting and great sounding recordings, there is little use for them in a vocal scenario.

Pickup Patterns
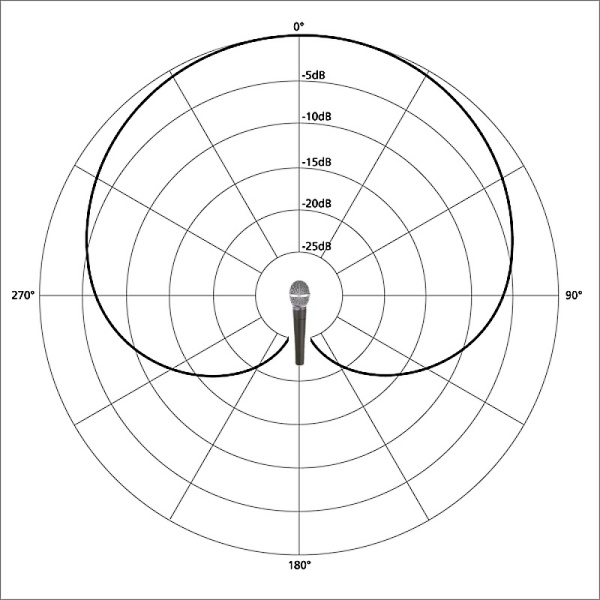
All microphones have a specific pattern that determines what sound will be picked up in relation to the way it’s positioned. It can be thought of like the lens of a camera in that they can be pointed at or directed to a source of sound, but where as a camera can only be pointed in one direction, microphones can pickup in many different directions. Most microphones will have a symbol on the front that shows what pickup pattern the mic is designed to use, and the direction it is pointing towards. Some will also have a switch that changes the pickup pattern for you to choose. Choosing the right pattern and positioning it correctly is the biggest influence on the microphone’s sound.
Omni-Directional
Like it sounds, omni mics pick up equally in all directions. This can be thought of like a sphere surrounding the mic. If you have multiple sources of sound, like a multi-person podcast and only have one mic, this is the best way to go. Omni mics can also be good at capturing the sound of a room. If you have a single person speaking, an omni directional mic may not be the best choice, as it will capture all the sounds around the mic as well as the voice – like a computer nearby or the reflection of your voice off a wall. Most lavalier microphones (clip-on or lapel mics) are omni directional.
Cardioid
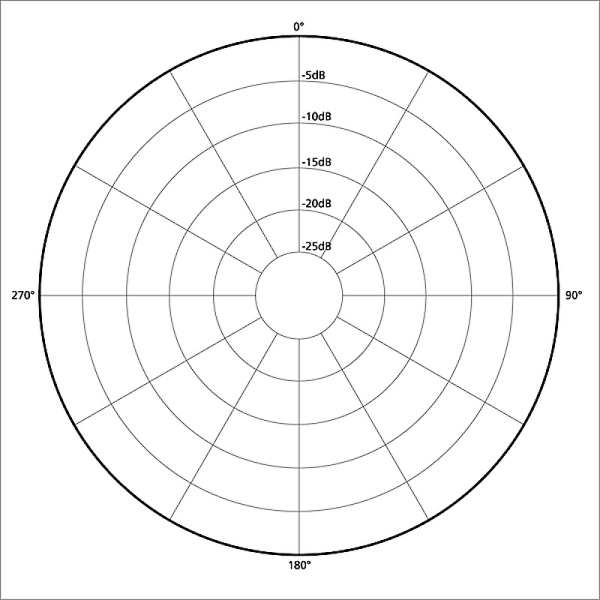
Given it’s name because the pattern looks like a heart, cardioids also have a unique property called the “proximity effect”. The closer the mic is to the source of the sound, the more pronounced the bass frequencies will be. This is what gives that distinctive “radio voice” in a broadcast, and what some people aim for when streaming. Too much of these lower tones can be distracting and sound “wrong”, so finding the right distance from the mic is important. Cardioids can also be useful in isolating sound, since they don’t pickup anything pointing away from the mic. In a live scenario, this could be the sound of the monitors or the crowd, and in a streaming setup, this could be your workstation or streaming rig.
Bi-Directional (Figure 8)
Not the most common of pickup patterns, bi-directional mics pickup equally in opposite directions, but don’t pickup the sides. These can be used to block out certain sounds (like when recording a person singing and playing an instrument at the same time) or can be used in combination with a cardioid for “middle/side” processing, which is too advanced for this discussion and isn’t typically used for voice work. For two person conversations, bi-directional mics can be a great choice to allow the performers to face each other and get captured equally.

Hyper-Cardioid
As the name suggests, this is an extreme version of a cardioid mic where the direction of the mic has an even bigger impact on what can be heard as “on-mic” or “off-mic”. These are also known as telescopic or boom mics and are typically used for recording dialogue on the sets of motion picture projects. These mics can be great if you want a mic out of the shot, but you may have less “play” for you to move around and still sound on mic.

Accessories
The microphone itself is only one part of the setup, you’ll need to have a few other things in order for the mic to work and get the best sound out of it.
Stand
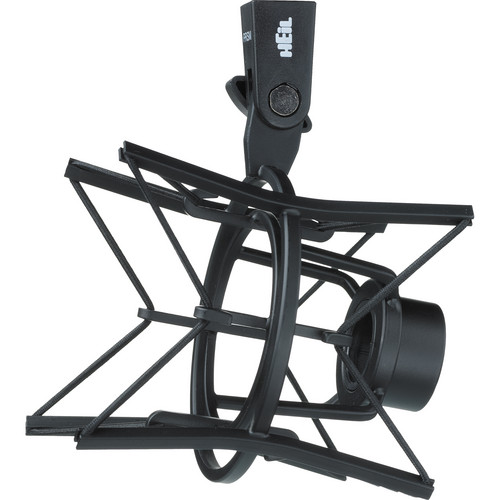
While you could theoretically hold your microphone during performing, it will be challenging if you want to do anything else with your hands (like play a game). Handling the mic also produces unwanted percussive sounds and is hard to fix in the mix. For simplicity and better results, use a stand and clip. If you don’t intend to move around, a simple mic stand and a hard clip may be fine, but most vocal situations are best suited with a boom arm and soft clip or shock mount.
Cables
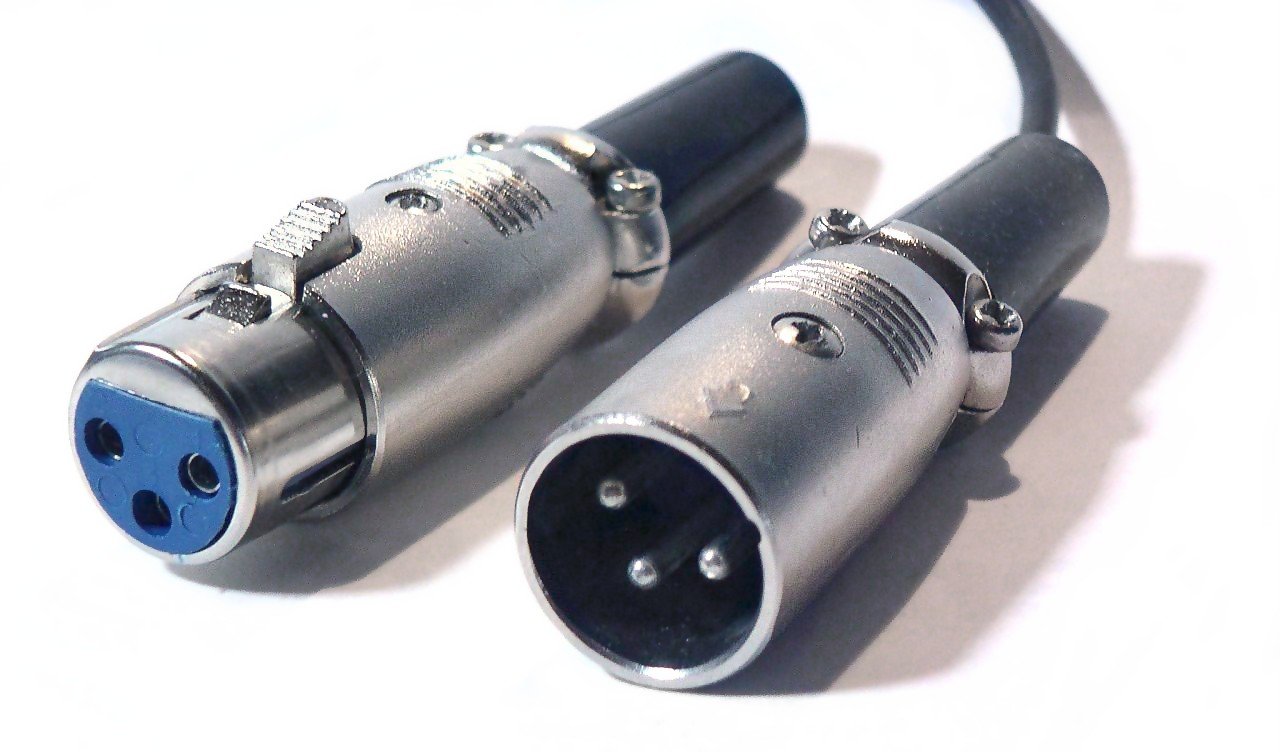
If you use a traditional mic, you’ll need XLR cables to connect all your gear together. While you don’t need to spend a crazy amount of money on cables, cheaper cables tend to be susceptible to interference causing unwanted noise in your signal. Look for balanced, shielded cables and you should not have any issues. If you intend to move around you may want a longer cable for slack, but you can always extend XLR cables by simply connecting another one thanks to their design. Even with shielded cables, avoid running lengths of audio cables beside power cables, as it can cause a line level hum. If you need to, try running them a few inches a part and crossing them at 90 degrees.

Windscreen
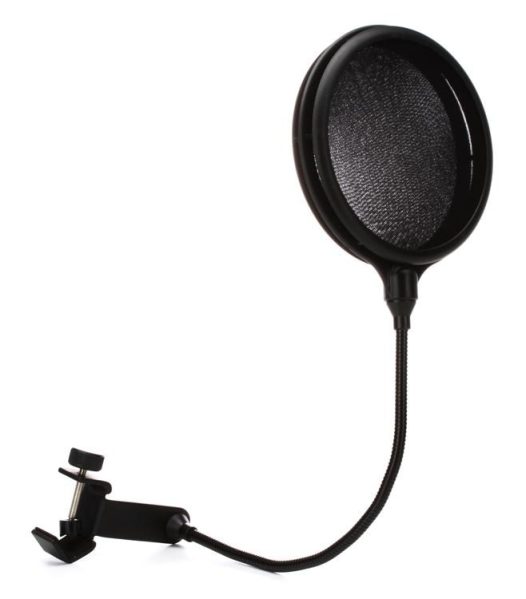
Windscreens or pop filters are important if you are going to be using a mic close up. A few mics (like the above mentioned SM7B) have built in screens, but almost all can benefit from an external one. These are usually a stretched piece of fabric or a fine metal grate held up with a circular disk and mounted to a gooseneck holder. The idea is to have this directly in front of your mouth between you and the mic to prevent more sibilant sounds from overloading the mic with your breath (like “f” and “p” sounds). And while you can fashion a crude screen out of a nylon pantyhose and a coat hanger, do you want to show that on stream? Most are under $30 and are worthwhile if a close mic setup is what you are after.
Headphones
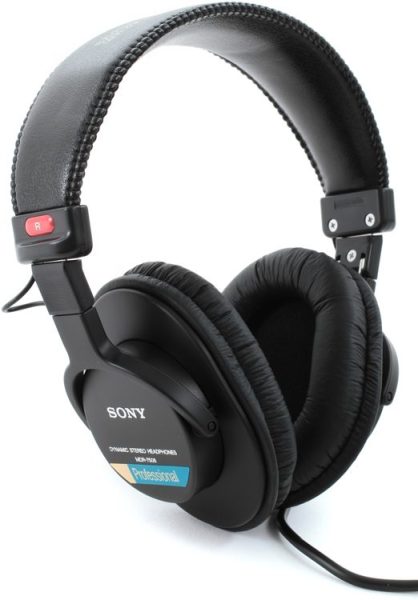
Figuring out which headphones are right for you is a personal choice. What sounds good to me, may seem not so great to you and what I find super comfortable for extended use may be uncomfortable for you. Regardless, here are a few guidelines to consider:
Headphones should be comfortable with you being able to wear them for a long time without hurting or making you feel discomfort (like being too hot).
In any recording or streaming scenario, good isolation is key. Open air headphones that do not seal around the ear will bleed sound into the mic, making it more difficult to capture the best sound. This is not the same as noise cancellation. To test for isolation, try to push the two “muffs” of a set together to form a seal while playing music. If you hear a noticeable drop in the volume, then they are providing good isolation.
Some headphones are designed for vocal performance, and accentuate the vocal range. This is good for recording scenarios, but may not be best for listening casually to music. Similarly, headphones that sound great for music may make it more challenging to judge the quality of a recording.
In-ear buds can be great for isolation, but can cause long-term damage if used for extended periods of time. This is not just from “loudness” – your brain will adjust to the sound that comes in from these buds and lose it’s ability to utilize the entire ear. This may be minor in effect, but is a concern none-the-less.
Fancy looking headphones rarely give good sound representation.
Pre-Amps
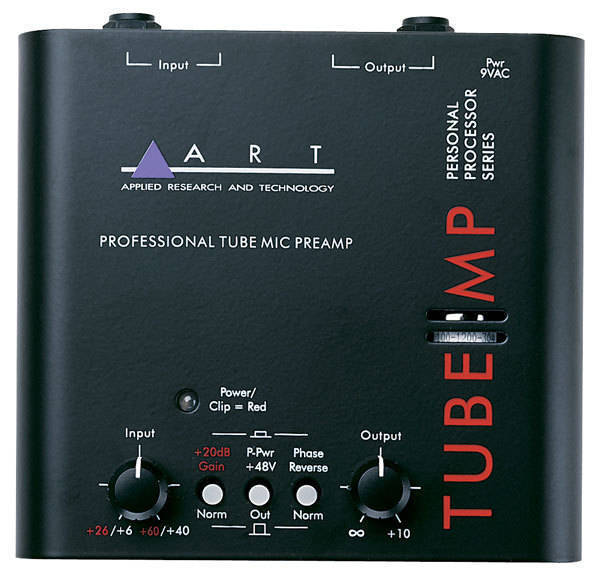
Every audio interface with a microphone input has some form of a pre-amp that “colours” the sound being captured. If you have a lower quality interface, cheaper pre-amps may create unpleasant sounding conversion or distortion. Investing in a separate pre-amp can provide a nicer sounding input overall and can be used for other purposes to help shape the sound. Not everyone needs a pre-amp to get good sound, but if you are having challenges, consider purchasing one. Remember that you will need an XLR cable to connect your pre-amp to your audio interface.
Examples of Setups
Knowing the different types of mics can help you determine what setup is best. These are just a few with the benefits and challenges for each situation.
Close Mic
This is the most common setup with a mic close to your mouth. This will get you great sound, especially with the proximity effect on cardioid mics, but can be in the way of your gameplay. The pop filter needs to be in front of your mouth in between you and the mic to have any effect. If the mic is not positioned correctly and you are not listening to yourself, you could end up sounding off mic easily. This setup is great for podcasts.

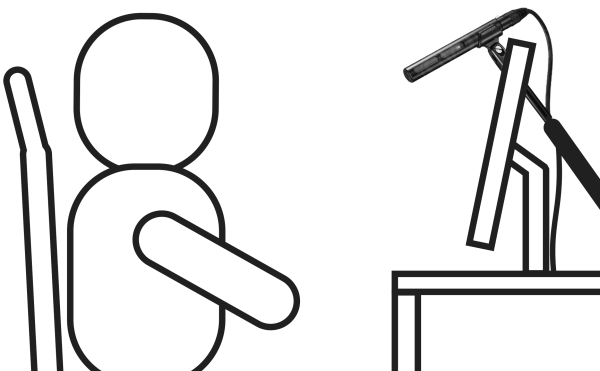
Boom Mic
This is actually what is typically used for motion picture and live television, but good quality boom mics can be expensive. This gives you a lot more freedom in motion and is not as intrusive as the close mic setup, but given the nature of hyper-cardioid mics might restrict your movement to stay on-mic. Most mic stands are not designed for this height, so you may have to get a tall stand and make sure it is securely mounted.
Lavalier (Lapel or Pin) Mic
This is common for talk shows as it ensures the person is always on mic. Lavs can be a bit tricky to clip on optimally, as incorrect positioning can create unwanted noise from movement. Lavs also tend to be “boomy” sounding since they are close to your chest, so some EQ may be needed to get the optimal sound. Finally, being tethered can be cumbersome, but wireless mics are much more expensive, require batteries which may not last for a long stream and are subject to interference.

Final Thoughts
Picking the right mic depends on how you want to use it. Informing yourself of the different types of mics will help you pick the right one for your setup. If you are looking for some assistance with audio, feel free to contact me.
